
How to Root Imported Pachypodium gracilius Safely
Root bare-root Pachypodium gracilius by checking provenance and rot first, using clean mineral media, and managing warmth and moisture cautiously.
Rachel Torres · 2026-02-01 · Updated 2026-08-17 · 9 min read
Key Takeaways
- Do not begin with a soak or rooting tonic. Confirm the plant was legally sourced, protect yourself from its spines and toxic sap, and inspect the base for active rot first.
- A firm, dry, callused plant can be stabilized in a small draining pot of clean, coarse mineral media. Cut only confirmed decay, and let any fresh cut dry before it touches media.
- Keep the root zone warm rather than hot, and skip a sealed humidity tent on a leafless caudex. A dome adds condensation risk when there is little foliage to protect.
- Water from the actual drying rate, not a calendar, in small measured amounts kept off the crown and wound. An oversized pot only makes the drying rate harder to read.
- No controlled, species-specific protocol guarantees a rootless imported Pachypodium rosulatum subsp. gracilius will recover. Preserve healthy tissue and make the environment easy to measure rather than intervening aggressively.
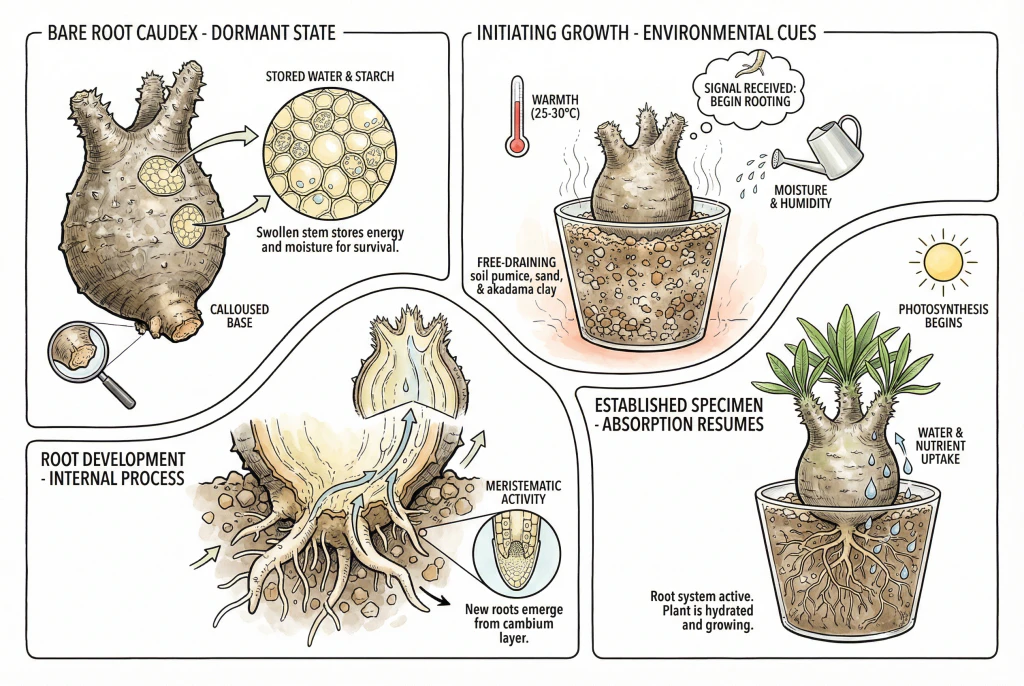
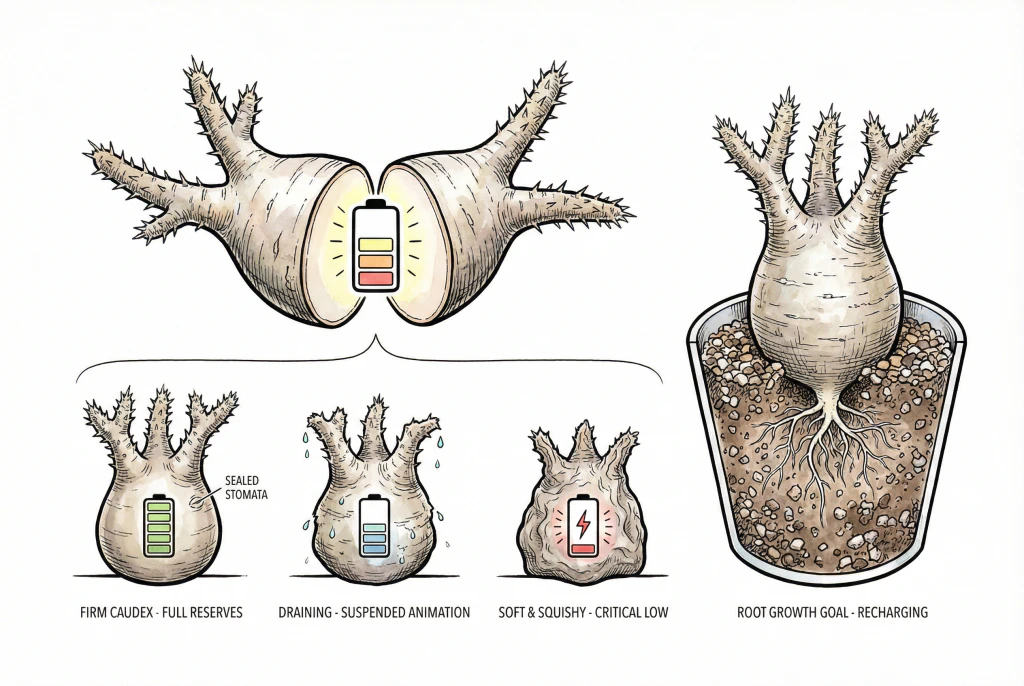
A bare-root Pachypodium gracilius does not tell you what happened before it reached your bench. It may be legally nursery-propagated and simply dry, or it may have hidden transport damage, cold injury, or decay. Those possibilities need different responses.
The most defensible approach is diagnostic. Preserve healthy tissue, prevent the plant from rocking, and make the rooting environment easy to measure. Intervening more aggressively is not the same as helping.
Is the Plant Legal and Safe to Handle?
Confirm Identity and Legal Provenance
Kew currently accepts the name Pachypodium rosulatum subsp. gracilius. Pachypodium gracilius is a synonym still common in horticulture. The subspecies is native to south-central Madagascar and grows in a seasonally dry tropical biome.
What documents should accompany an import?
The CITES Pachypodium checklist treats the genus as CITES-listed. This subspecies is not one of the three Madagascar species placed in Appendix I, so it falls under the broader Appendix II genus listing. Requirements for an international shipment depend on the source, trade route, destination, and national law.
Ask for the invoice, propagation or provenance record, and applicable CITES and phytosanitary documents. Verify doubts with the relevant national CITES authority rather than relying on a seller's verbal assurance.
Pause when provenance is unclear
Do not cut first and investigate later. If a plant appears wild-collected or the seller cannot explain its origin, pause the transaction or aftercare work until provenance is clear.
Protect yourself from spines and sap
Wear eye protection and puncture-resistant handling gloves over nitrile gloves when cutting or cleaning the plant. Pachypodium stems are spiny, and research on the genus has identified biologically active toxic compounds. Keep sap away from eyes and mouth, wash exposed skin promptly, and keep cut material away from children and pets. Seek medical or veterinary advice after ingestion or significant eye exposure.
Is the Base Dehydrated, Damaged, or Rotting?
Inspect the Base Without Repeated Squeezing
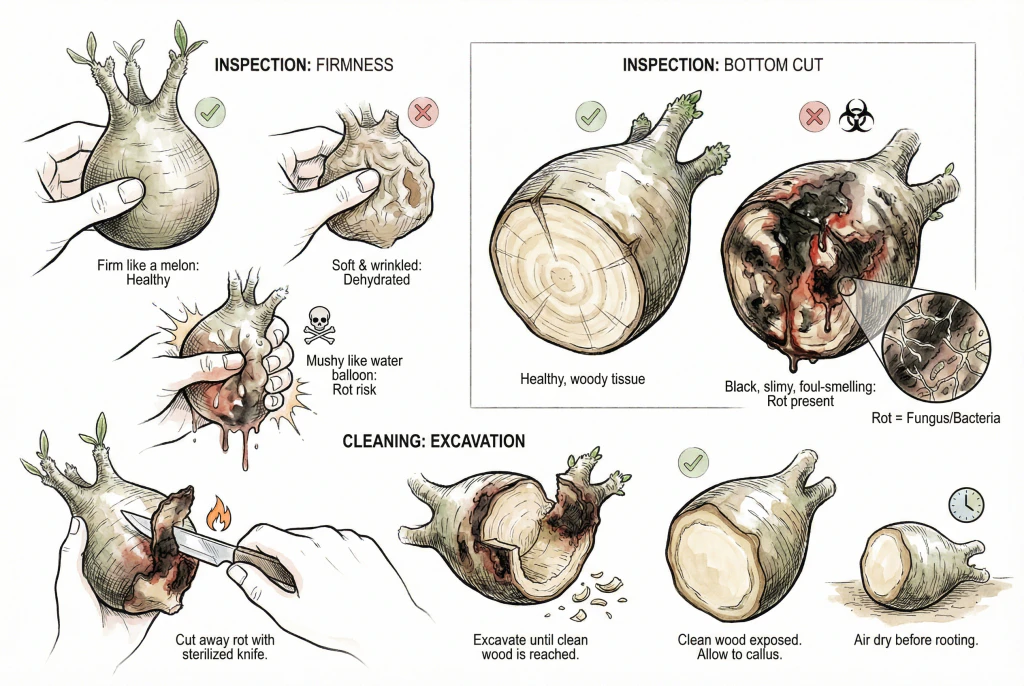
Set the plant on clean paper and inspect it in good light. Press only lightly. Repeated squeezing can bruise stressed tissue. Smell the base, note whether discoloration is dry or wet, and compare the suspected area with firm tissue above it.
| Finding | Most cautious reading | Next step |
|---|---|---|
| Firm base, dry cut, no odor | Callused and suitable for potting | Do not recut healthy tissue |
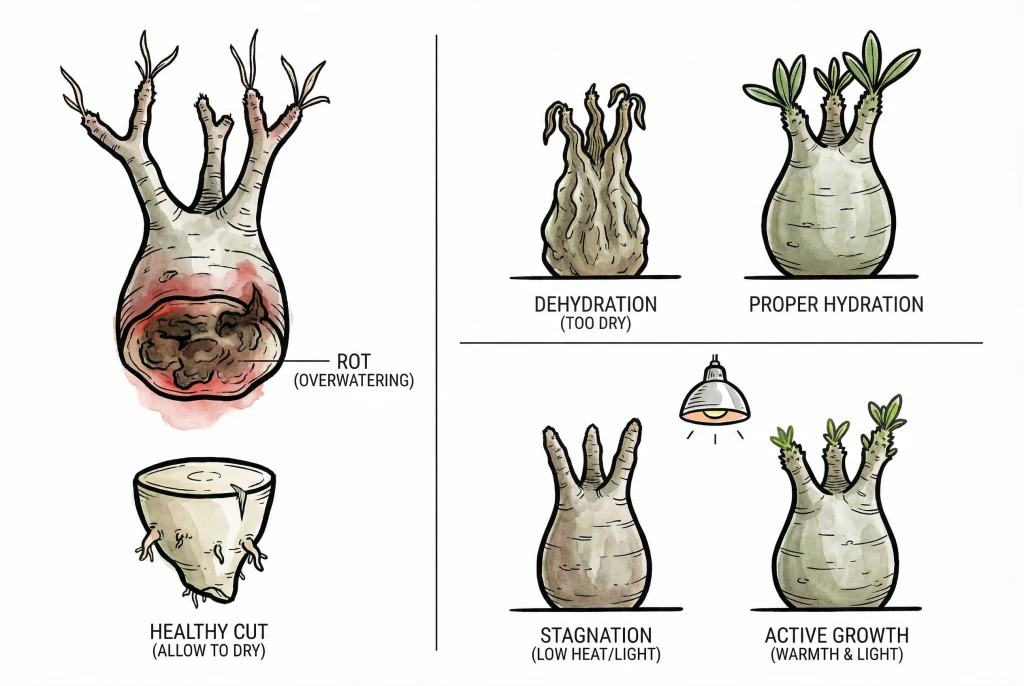
| Wrinkled but firm, dry surface | Possible dehydration or dormancy | Pot and monitor. Do not assume rot or force a soak |
| Localized bruise with no spread | Possible transport damage | Photograph, isolate, and compare over several days |
| Soft, wet, spreading, dark, or foul-smelling tissue | Active decay is plausible | Keep it out of wet media and obtain experienced diagnostic help |
Cut only confirmed decay
If decay is clear and you have the skill to cut, remove only affected tissue with a sharp tool cleaned before use and disinfected between cuts. Stop when the remaining tissue is structurally firm and no longer visibly wet or degraded. The appearance of a cut cannot identify the pathogen, and a fungicide cannot repair dead tissue. A valuable or rapidly declining specimen is a good candidate for a plant diagnostic service.
When is a fresh cut ready?
Let a new cut dry in a protected, airy place before it touches rooting media. Timing depends on wound size, temperature, and humidity. A fixed one-day rule is not reliable for a large caudex.
Should You Soak the Base or Apply Rooting Hormone?
Skip Unverified Soaking Routines
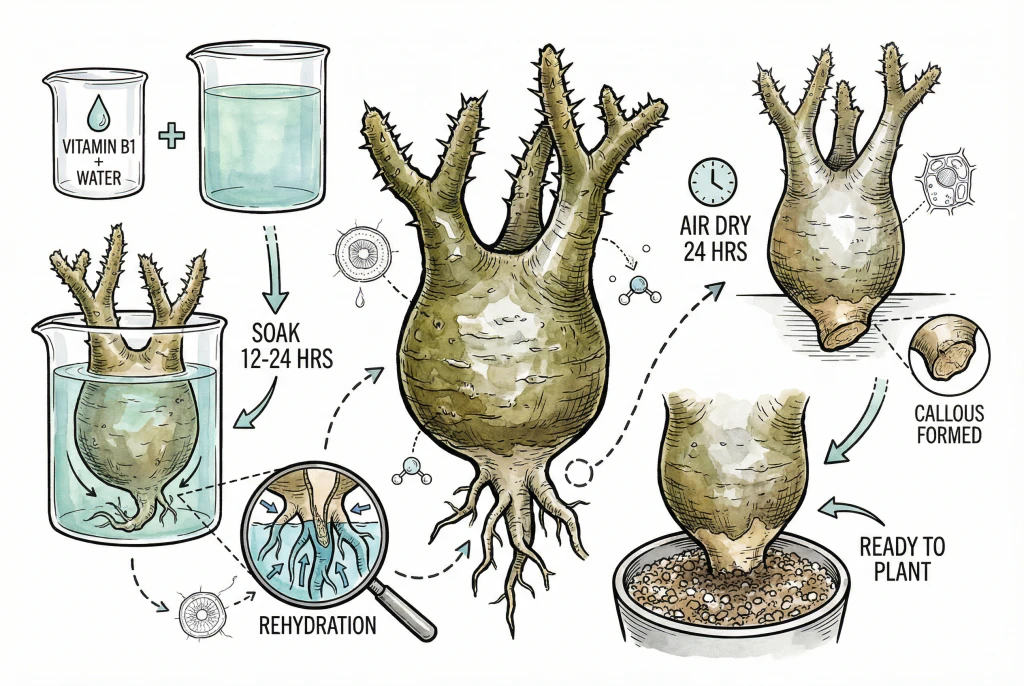
No controlled source located for this review validates a 12–24 hour water, vitamin, or hormone soak for a whole rootless P. rosulatum subsp. gracilius. Deep or prolonged submersion also makes it harder to keep an injured base dry, so it should not be the default.
Use auxins only under a matching protocol
IBA and NAA are genuine auxin-type rooting compounds used on cuttings. That general evidence does not establish the right product, concentration, or exposure for this swollen, imported stem. If a nursery that propagated the plant supplies a species-specific protocol, follow the exact product label and test the least aggressive treatment first. Do not improvise a dose from another crop.
Treat Supplements as Non-Rooting
A general-purpose vitamin B1 or seaweed-based plant tonic is not a substitute for a labeled IBA or NAA rooting product. Do not select one on the assumption that a vitamin supplement will initiate roots in this species.
What Potting Setup Protects a Rootless Pachypodium?
Choose a Stable, Readable Pot
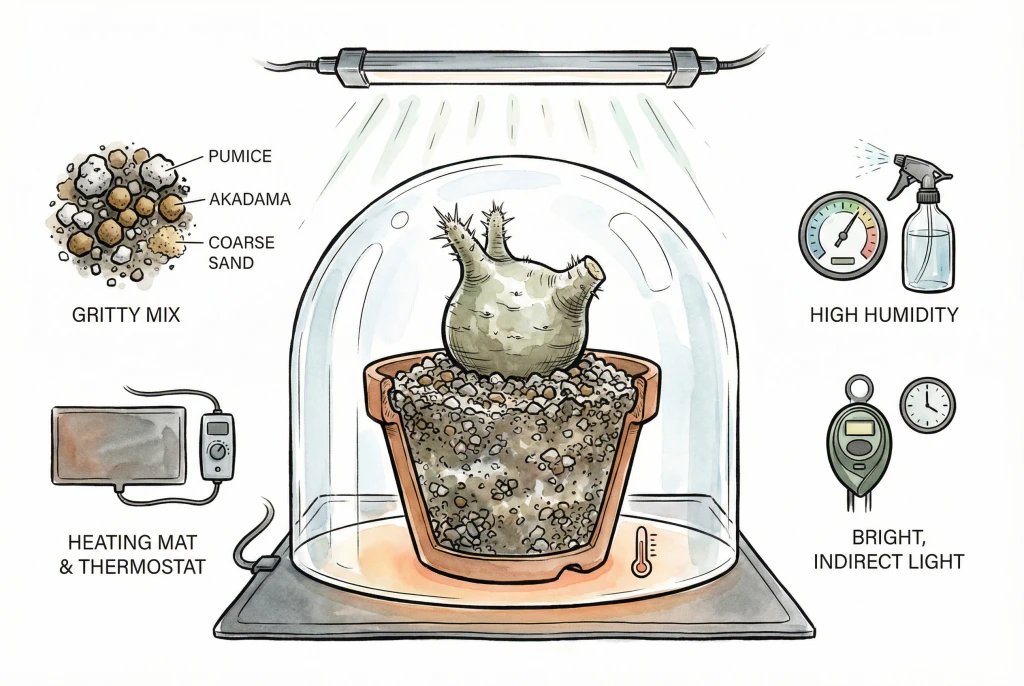
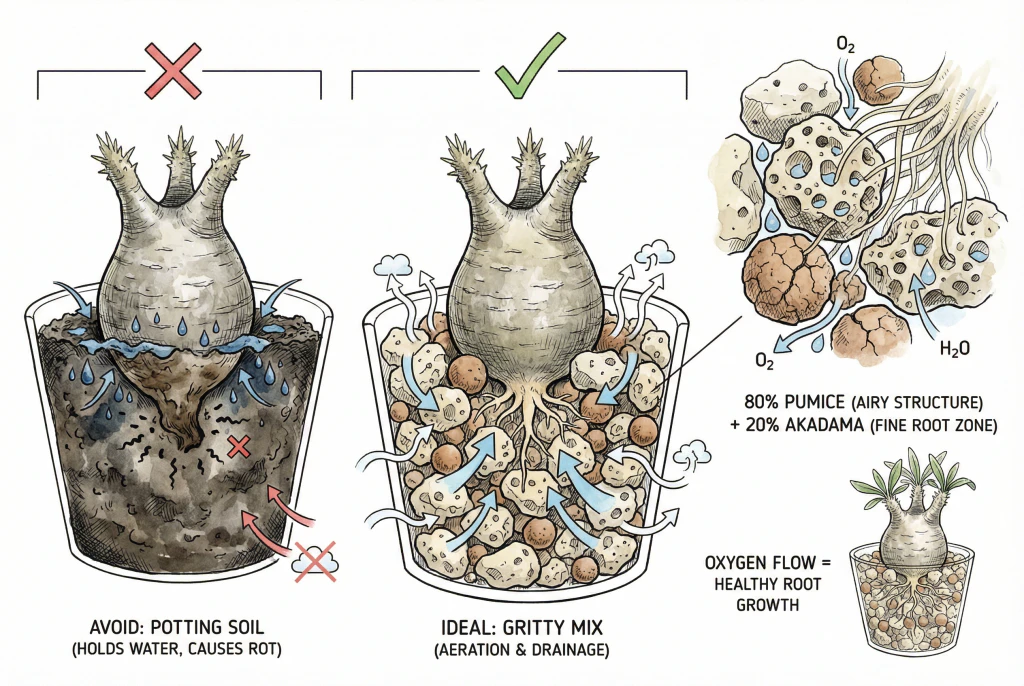
Use a clean pot with an unobstructed drainage hole. Choose the smallest diameter that keeps the caudex stable without crowding the base. An oversized pot holds a larger wet volume and makes the drying rate harder to read.
Build a medium that drains around the base
The medium should support the plant, retain a small amount of accessible water, and drain freely enough that the cut base does not remain saturated. Clean pumice can do that. Akadama, perlite, or another stable coarse component may be blended in, but there is no evidence that a blend using 80 percent pumice and 20 percent akadama is optimal for this subspecies. Particle size, fines, pot depth, and your watering method matter more than a branded ratio.
Use Pumice as a Fit-Based Component
Horticultural pumice can serve as the mineral core when its grade fits the pot. Screen out excessive dust, rinse if the supplier recommends it, and let free water drain before use. It improves structure only when the particle size and watering pattern match the root zone.
How should the base be supported?
Seat the base shallowly enough that you can inspect it. Use stakes or soft ties to stop rocking. Movement can break fragile new root initials. Do not bury a large portion of the caudex merely to hold it upright.
When I stake a rootless plant, I photograph the tie, stake, base, and pot-rim mark together. I record that stability as mechanical support rather than as root evidence. This prevents a firmly braced caudex from looking rooted simply because the support system is doing its job.
I look for rooting through a sequence of indirect signs instead. The comparison covers the base, pot mass, dry-down behavior, and sustained new growth without tugging the plant.
Only when those observations agree do I begin to reduce reliance on the support. The log keeps a gentle setup from turning into repeated tests that can damage new roots.
How Warm and Humid Should the Root Zone Be?
Use Measured Warmth Without Overheating
Penn State's general houseplant-cutting guidance places rooting media at 75–80°F (24–27°C). That is a useful reference for gentle propagation warmth, not a measured optimum for imported Pachypodium gracilius. Use bottom heat only when the measured root zone is cooler than the range you intend to test. A mat without a thermostat can create hot spots and accelerate drying.
Keep the electrical connection dry and use equipment rated for the environment. Place the temperature probe in the medium near the base, not on the mat.
Use Humidity for Leaves, Not a Rootless Base
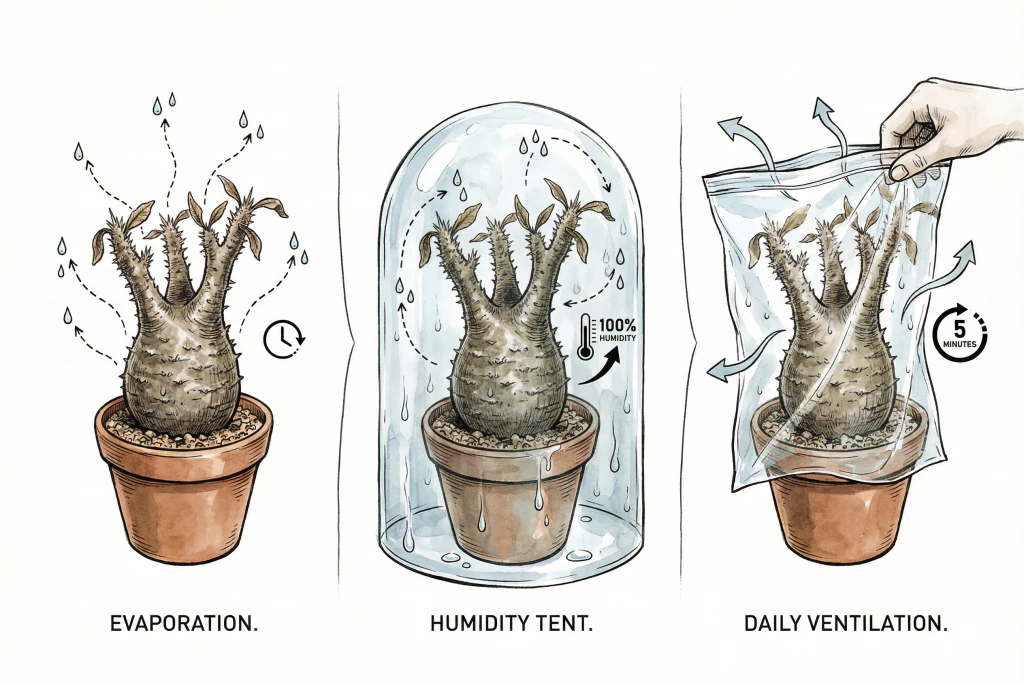
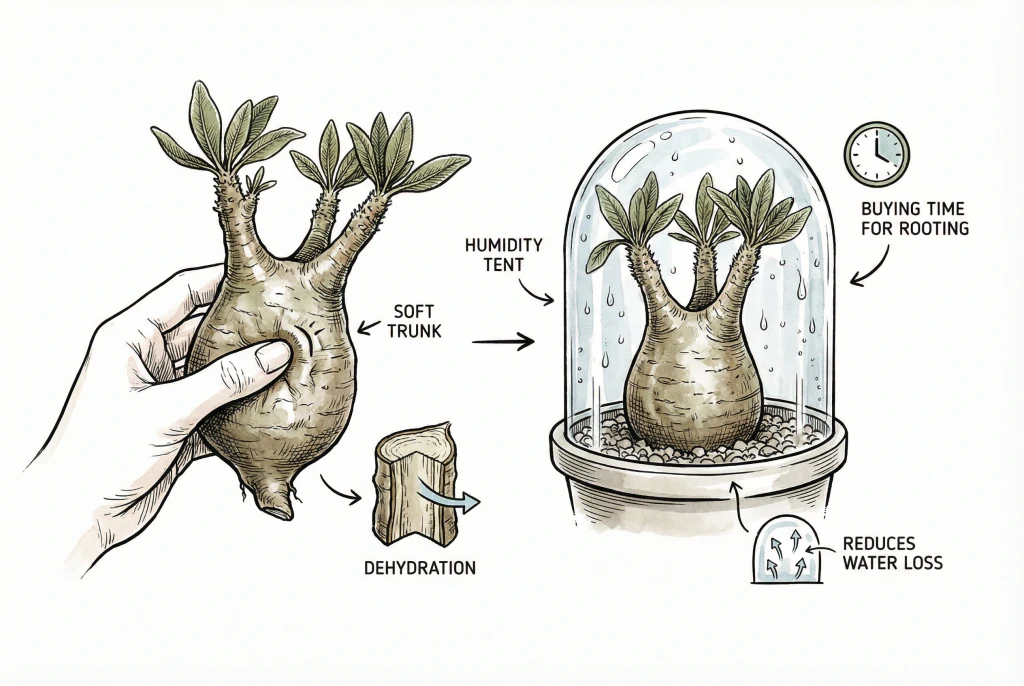
A leafy softwood cutting and a leafless caudex do not have the same humidity requirement. If the plant has few or no leaves, a sealed dome adds condensation risk without much transpiring foliage to protect. Use room humidity with gentle air exchange as the default. If leaves are present and wilting, a loose, vented cover can reduce water loss, but remove or open it if moisture condenses on the plant.
How Should You Water Before Roots Form?
Measure Drying Time Before Watering
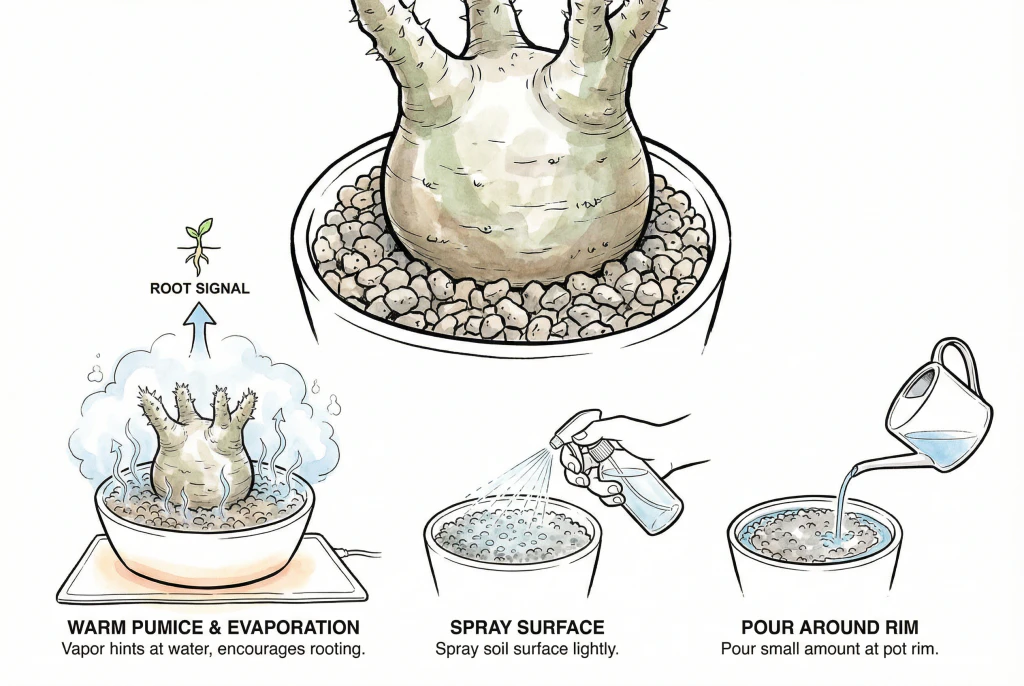
Do not use a calendar. The same pot can dry in two days on a warm open shelf and remain wet much longer inside a cover. Weigh the prepared pot or use a wooden skewer to learn how quickly moisture leaves the root zone.
Water in Small, Measured Steps
Start with clean mineral media that is only lightly and evenly moist, never dripping. Let it approach dry before adding a small measured amount, and keep water out of the crown and fresh wound. This is a risk-management approach, not a published species-specific irrigation protocol. If the base stays cool and wet, stop watering and inspect the setup.
How can new growth be interpreted?
New leaves are encouraging but do not prove that roots have formed. A caudex can spend stored water on a shoot. Increasing stability, continued healthy new growth, and a rising water-use rate together are more persuasive. Do not tug repeatedly. If the plant declines or the base changes, remove it carefully and inspect instead of waiting for an arbitrary deadline.
What Do Common Warning Signs Mean?
| Change | Check first | Response |
|---|---|---|
| Slow wrinkling, dry mix, no odor | Root-zone temperature and drying rate | Reduce excess heat or airflow. Adjust water cautiously |
| Softening at the base | Whether the spot is wet, spreading, dark, or odorous | Unpot and inspect. Do not solve it by sealing in humidity |
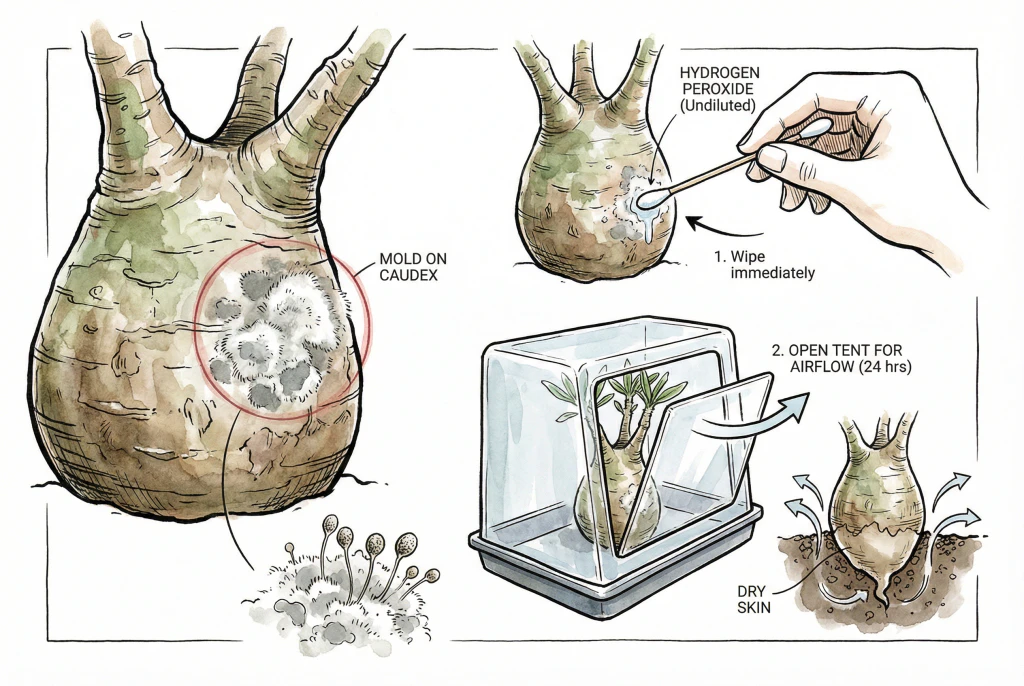
| White surface growth | Condensation, stagnant air, mealybug wax, or mineral residue | Isolate, identify, and correct the wet environment before choosing a treatment |
| New leaves but no firm anchorage | Whether water use has increased | Keep the plant supported. Do not assume it is fully rooted |
| No change but a firm base | Season, temperature, and plant history | Hold stable conditions rather than repeatedly repotting |
Read Softness with the Rest of the Plant
Softness alone does not separate dehydration from rot. Dehydration is more likely to be diffuse and associated with a light, dry pot. Rot is more concerning when softness begins at a wet base and progresses with discoloration or odor. When those signals conflict, inspection or a diagnostic service is safer than adding water.
Do Not Treat Surface Residue Blindly
Do not automatically wipe a valuable plant with hydrogen peroxide. Surface residue, corking, mealybug wax, and fungal growth can resemble one another, while a surface treatment will not cure internal decay. Isolate the plant, let the surface dry, improve air exchange, and identify what you are seeing. Spreading soft tissue deserves a root-and-stem-rot diagnosis, not a cosmetic wipe.
For an alternative workflow and a second set of decision points, compare the bare-root Pachypodium rescue guide.