
Bagging Adenium Seed Pods Before the Split
Fit a seed catcher before Adenium pods split, check the mesh and closure, track each horn separately, and harvest without sacrificing the unripe partner.
Rachel Torres · 2026-08-26 · Updated 2026-10-24 · 6 min read
Key Takeaways
- Fit the catcher before the seam opens. A fixed 70-day deadline is unreliable.
- Check mesh openings and the drawstring gap against the seed body, not its fluffy hairs.
- Support the bag independently so wind and captured seeds do not pull on the stalk.
- Label the two horns separately. One can open while the other is still closed.
- Keep pollination date, first visible pod date, and natural opening date as different records.
An Adenium follicle opens lengthwise and releases seeds with tufts that catch moving air. The useful deadline is before that seam opens, not a particular shade of brown or a promised day after flowering. A catcher installed while the pod is still closed makes a missed inspection less costly.
NC State's Adenium profile describes the slender fruits splitting at maturity and releasing tufted seeds. A split pod may retain some seeds, so inspect it over a tray before assuming the entire crop has escaped.
Simple check for a catcher that actually holds seeds
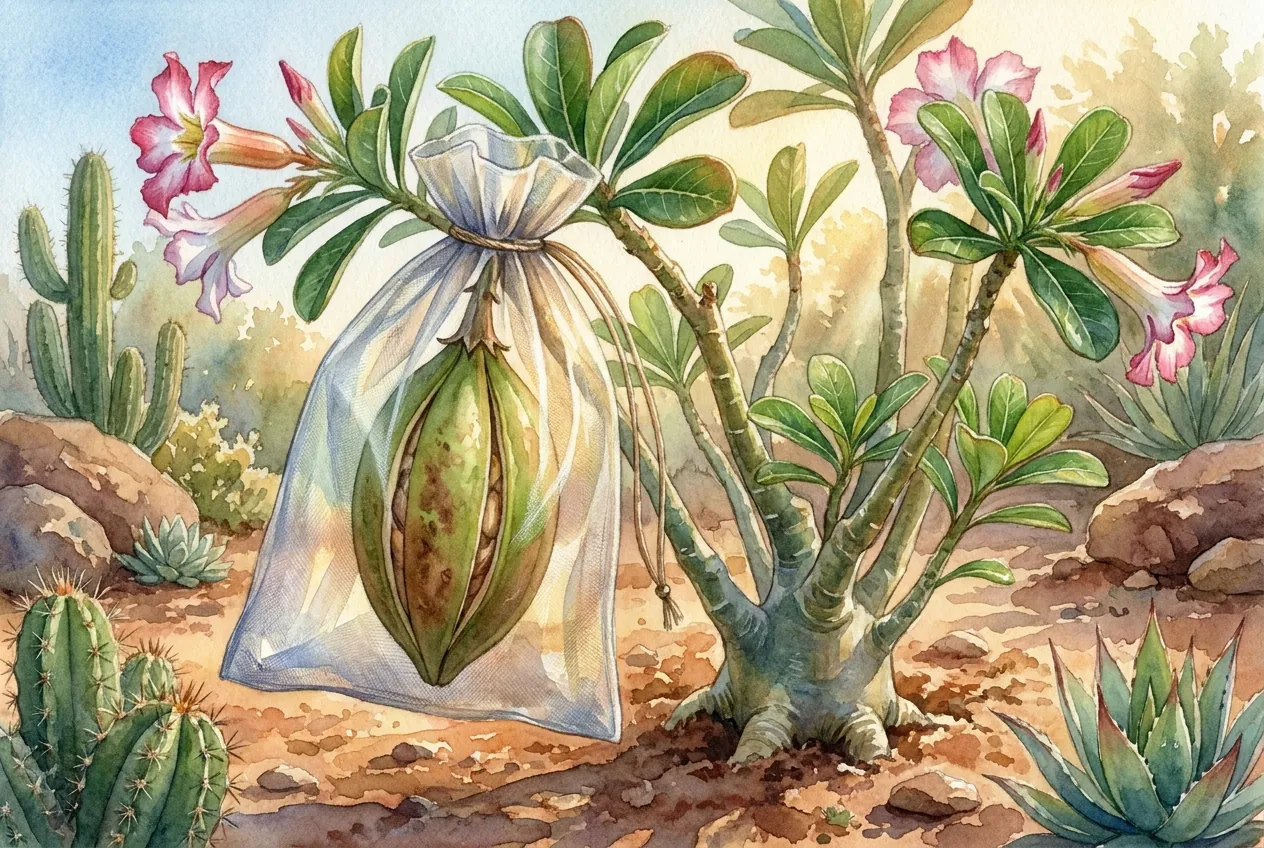
- Choose a lightweight mesh or organza bag with no tears. Once you can fit it without bending the developing pod or tightening around its stalk, cover the still-closed pod. If the seam is already opening, place a larger bag around the whole fruit before touching it.
- Leave about 3 cm beyond each pod tip and enough width for both horns to separate without pressing against the mesh. This is a starting fit allowance, not a measured growth requirement. Replace the bag whenever the tip or widening seam reaches the fabric.
- Close the entry around the supporting stalk without compressing it. Fold and clip excess mesh to itself to close an escape gap. Attach the bag's weight to a stake or support so the closure does not carry that load.
- Look through the bag each day for a widening seam, trapped seeds, stalk indentation, and damp fabric. Repeat after rain. If it clings to the pod, exchange it over a tray for a dry, roomier bag.
A tiny opening at the drawstring can lose seeds even when the mesh itself is fine enough. Inspect the closure from underneath as well as from the front. Do not tie it tighter against living tissue to solve a gap.
Avoid sealed plastic around a ripening pod because it traps moisture. Mesh reduces that problem but cannot guarantee freedom from mold. A bag that remains wet needs attention even if it is sold as breathable.
Why the 70-day clock is only a reminder
A Brazilian production paper reports dehiscence around 90 days after pollination. A separate botanical-garden study reported fruit ripening over 110–120 days under its introduction conditions. Those are observations from different growing systems, not competing universal deadlines. See Adenium growth management and the botanical-garden reproduction study.
If you know the pollination date, set a day-55 reminder to inspect bag fit and start a daily seam record. Fifty-five days is an intentionally early administrative checkpoint, not evidence that the seeds are ripe then. Do not wait for it to install a suitable catcher. If the date is unknown, start the record today and leave age unknown.
Pod color is useful for comparing the same pod with its earlier photograph. It is a poor substitute for that record because initial pigmentation and later color changes vary. A long, still-green pod deserves a catcher too. Do not wait for every part of it to turn brown.
Measured check for mesh, timing, and two different horns
Use this routine for a valuable cross or your first harvest from a plant. Keep each fruit pair under one label and give its two horns L and R identifiers. A record such as A3 × B2, pair 1, L keeps parentage and collection date separate.
Test the unused bag away from the plant
If you have spare Adenium seeds, choose the smallest intact seed body in the lot and test whether it passes through the mesh or closed entry over a tray. Do not rely on its hairs catching in the fabric. Test the empty bag before placing it on a fruit, never shake a bag containing attached pods.
Without spare seeds, choose mesh with openings no larger than about 1 mm as a conservative starting choice. The biometric study measured seed bodies roughly 2 mm in diameter, so a 1 mm opening provides a practical size margin. It is not a bag standard or a promise about every seed lot. Also inspect seams and the closed entry, where the gaps can be larger. See the Adenium fruit and seed measurements.
Keep the dates on separate lines
| Record | What to enter | Why it matters |
|---|---|---|
| Pollination | Date and named donor, or unknown | Research timing may start here |
| First visible pod | Date each horn was first seen | It is later than pollination and is not the same day zero |
| Bag fitted | Date, bag dimensions, and gap check | Separates a late bag from a leaking one |
| Natural opening | Separate dates for L and R | Prevents cutting both when only one is ready |
| Collected | Date, intact seed count, and any dampness | Allows a later germination result to be traced to one horn |
Take one photograph of each seam daily from the same side, preferably before direct sun makes reflections difficult to compare. Keep a small ruler beside the pod without touching it. A daily interval is a practical way to catch change between inspections, while the bag covers the hours when nobody is watching.
After three or more recorded harvests from the same plant, use the earliest observed opening to bring next season's daily checks forward. For example, if the earliest split occurred 82 days after a known pollination, start detailed checks at day 68, two weeks earlier. That two-week margin allows for variation and missed observations. Continue bagging earlier when fit permits, because three harvests cannot establish the earliest possible split.
Collect the ripe horn and keep the closed one
Bring the bagged fruit over a large tray indoors away from moving air once seeds are loose. Support the bag before opening its closure. If access requires cutting, cut only the fully opened horn with a clean tool while leaving the shared stalk and closed horn intact. If you cannot separate them safely, collect loose seeds through the bag opening and leave the plant attached.
Use separate envelopes for L and R even if they came from the same flower. Different opening dates can mean different handling and drying histories. Wear gloves when cutting Adenium tissue and avoid contact with its sap.
Write the plant and horn ID on the receiving envelope before opening the mesh. Work over one clean sheet of folded paper, one horn at a time. After collecting, inspect the bag’s seams and drawstring folds for trapped seeds before beginning the next horn.
Photograph the intact seed count beside that label, then record damaged or moldy seeds separately. A later 7/10 emergence result describes the ten seeds actually sown, not every seed produced by the cross. Keep the harvest count so losses during catching and drying remain visible.
Spread damp seeds in a single layer on clean paper in shade with gentle room air movement. Check daily and replace damp paper. Do not put damp seed straight into a sealed storage container. Keep visibly moldy seeds separate rather than mixing them into the apparently sound lot.
Check the harvest by emergence, not seed color alone
Keep pale or unusually thin seeds separate for a small trial instead of declaring every one dead by appearance. Count ten seeds from a horn if the harvest allows, label their source, and sow in a clean, freely draining seed medium. Use a measured medium temperature near 25°C as a starting point within the 25–30°C range tested in the seed study. Keep the medium moist without standing water.
Record emergence daily for 21 days, then retain firm ungerminated seeds for further observation. Twenty-one days is a consistent first comparison window, not a universal discard deadline. Report seven emerged seedlings as 7/10 for that horn and setup. The published germination results do not guarantee your crop's result, and laboratory paper tests do not establish a particular potting-mix recipe.
If the bag is empty, check for splits, torn mesh, and entry gaps before blaming immaturity. If seeds are present but moldy, review dampness and drying. If intact seeds repeatedly fail to emerge, compare the measured sowing conditions and parent records. Each failure points to a different next step.